
How to Create a Campaign
This dataset is used to record campaign details and search for contacts to send out newsletters or any other type of campaign.
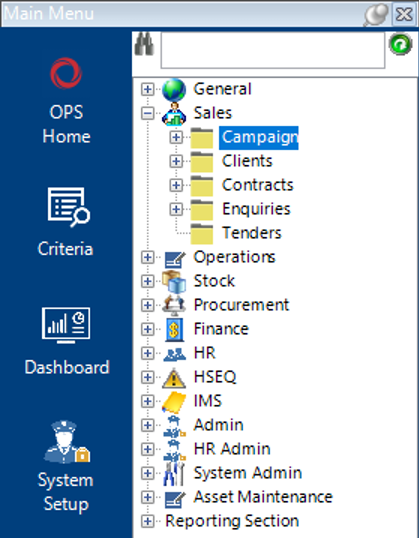
Locate the Campaign Dataset
- Select the Sales category, then Campaign:
Create a New Campaign
- Select New Record>Campaign or hit Insert on your keyboard.
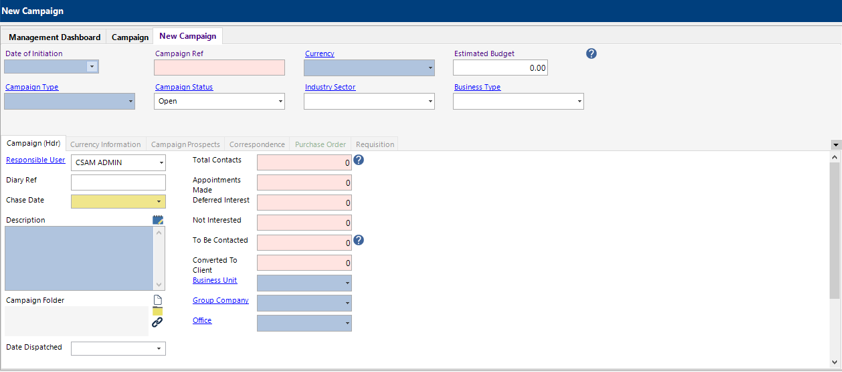
- Fill in the fields as required:
Note: (Pink = System Generated, Blue = Mandatory):
| Field | Description |
|---|---|
| Date of Initiation | Select/Enter the relevant date |
| Currency | Select the relevant currency |
| Estimated Budget | Enter an estimated budget for the campaign (if applicable) |
| Campaign Type | Select the relevant campaign type, or add new if required |
| Campaign Status | Defaults to Open. User changeable |
| Industry Sector | Select the relevant industry sector |
| Business Type | Select the relevant business type |
| Campaign (Hdr) | |
| Responsible User | Defaults to the user creating the campaign. User changeable |
| Diary Ref | Enter a diary ref (if applicable) |
| Chase Date | Select/Enter the relevant date |
| Description | Text field to record description of the campaign |
| Campaign Folder | This field will automatically populate when the record is saved |
| Date Dispatched | Select/Enter the relevant date |
| Office | Select the relevant office |
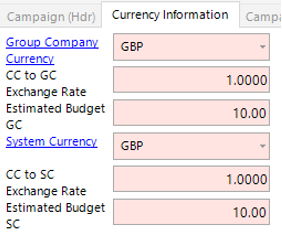
- Select the Currency Information tab to view Exchange Rate, Group Company budget and System Currency budget:
Add Clients to the Campaign
- Select Functions>Select Campaign Clients.
- The system will automatically open the Clients search screen, if an Industry Sector and/or Company type is entered into the Campaign header, these will pull through onto the search screen:

- Select Search to return all Clients with the selected Industry Sector Oil and Gas as shown in Step 6 or enter additional search criteria to narrow the search, results will show in the bottom half of the screen in grid view:

- Select the row(s) you wish to add to the campaign and select Close.
Select Yes to continue or No to cancel the operation.
- Clients added will show within the Campaign Prospects tab as shown:

Note: Each record within the Campaign Prospects tab can be opened and modified as required.
Add Contacts to the Campaign
- Select Functions>Select Campaign Contacts.
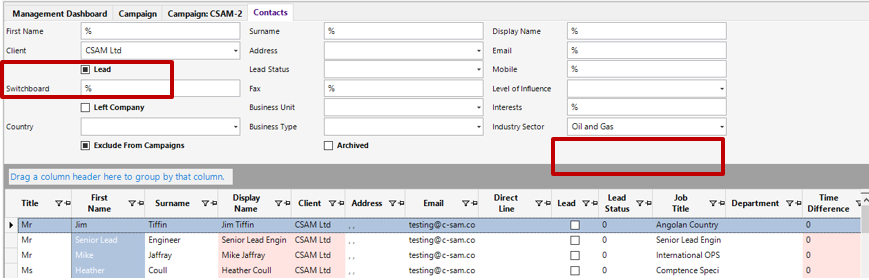
- The system will automatically open the Contacts search screen, if an Industry Sector is entered into the Campaign header, this will pull through onto the search screen as shown:
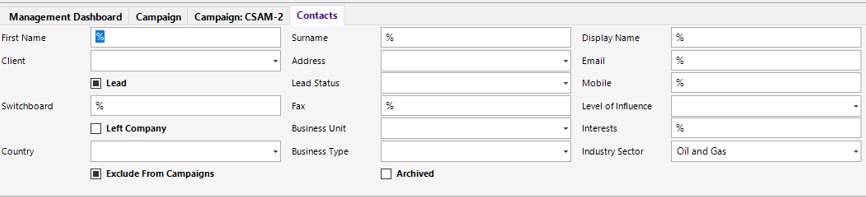
- Select Search, or enter additional search criteria in the fields to narrow down your search, as shown:
- Select the relevant row(s), then select Close.
Select Yes to continue or No to cancel the operation.
Create and send Campaign via Email
- Select Functions>Email Campaign.
Select Yes to open Outlook to send the email, or No to use the system.
If sending from an Outlook account, the email will automatically open and will have your contacts listed in the BCC section as shown:

- Attach any relevant documents to the email and send.
- Create a record within the Correspondence tab and drag the sent email from Outlook into the record to save the communication
Note: If you are using the system to email the campaign, a correspondence record will automatically be added.
Add a Requisition to the Campaign
- Select New Record>Requisition or select the Requisition tab within the Campaign and hit Insert on your keyboard. The system will pull through your Campaign record to the requisition as shown:

- Alternatively, you can proceed directly to the Requisition dataset and create a record from there, however, you will need to select the relevant Campaign reference within the For Campaign field.
Note: All Requisitions created with the Campaign reference entered will save against the Campaign record under the Requisitions tab.
Please refer to the following user guides for additional support on Requisitions and Purchase Orders:
How to Raise a Requisition
How to Raise a RFQ
How to Review a Requisition and Request Approval
How to Approve a Requisition
How to Raise and Send a PO
How to Raise a GRN
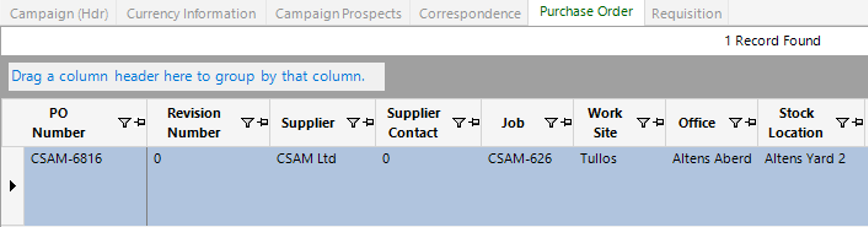
Purchase Orders created with a Campaign entered will save under the Purchase Order tab within the Campaign tab as shown:
Note: Users can also Copy a Campaign using the Function>Copy Campaign if using the same Contacts.