
How to Add Expenses
Users have the ability to add records into the system relating to expenses which can be marked as chargeable and will show on the Invoice.
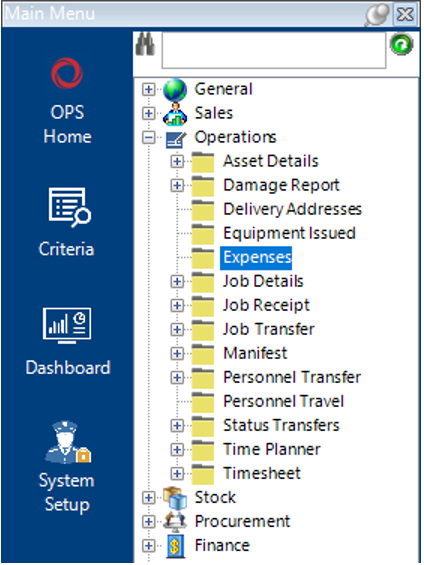
Locate the Expenses Dataset
- Select the Operations category from the menu then Expenses.
- Select New Record>Expenses or hit Insert on your keyboard to create a new record.
Note: You can also add an Expenses record in via a Job Number within the Job Details dataset.
- Fill in the relevant fields.
Note: (Pink = System Generated, Blue = Mandatory):

| Field | Description |
|---|---|
| Personnel Name | Enter/Select the name of the employee receiving the expenses |
| Date Received | Automatically defaulted to today’s date, can be changed |
| Job Number | Enter or use the binoculars to look up a Job Number if required |
| Work Site | This field can be defaulted from the Job Number if entered or manually entered |
| Expenses (Hdr) | |
| Charge Type | Select the relevant charge type or add a new one if required |
| Detail | Text field to contain information regarding the expense record |
| Purchase Currency | Select the relevant currency |
| Qty | Enter the relevant value |
| Unit Cost PC | Enter the unit purchase cost |
| Notes | Text field for additional notes |
| Chargeable (Tickbox) | If this tickbox is enabled, the record, when approved will appear on the Invoice |
| Revenue Rate PC | Enter the value you wish to show on the Invoice (If this field is blank it will not appear on the Invoice) |
| Hold from Invoice | If this tickbox is enabled the system will not pull it through to the Invoice |
| Expenses Link | User can link a file/folder/webpage to the Expenses record |
| Cost Finance Code | This will be defaulted to the users log in account, can be changed |
| Revenue Finance Code | This will be defaulted to the users log in account, can be changed |
| WIP Cost Finance Code | This will be defaulted to the users log in account, can be changed |
| WIP Revenue Finance Code | This will be defaulted to the users log in account, can be changed |
- Select Close, the Expenses record has now been added to the system.
Proceed to How to Approve Expenses User Guide for the next steps.