
How to Amend Timesheets Via Time Planner
Users can amend the Start Date and End Date field against Timesheet Analysis records within the system in groups rather than amending each record individually.
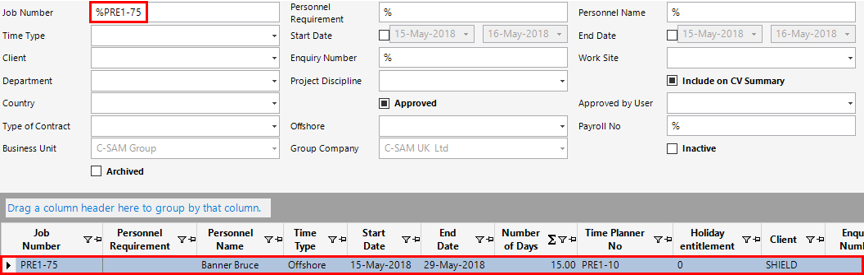
Example: Bruce Banner has 1 Time Planner record with 15 Timesheet Analysis records for job PRE1-75 from 15/05/18 to 29/05/18, however, the Start Date and End Date have now changed. This guide will show you how to create the additional timesheets needed against the job.
Locate the Time Planner
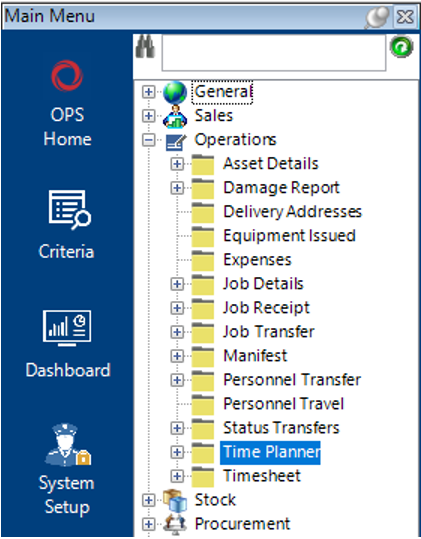
- Select the Operations category, then Time Planner:
- Enter the relevant search criteria then select Search to return the results:
How to Amend the Start Date
- From the screen within Step 2, highlight the row within the grid view, and select Functions>Apply New Start Date.
Select Yes to continue or No to cancel the operation
- A message will appear and you must enter the new start date you wish to apply to the time planner.
Enter the Date and select OK to continue.
- A message will appear to advise that a new Timesheet Analysis record(s) have been added to the Time Planner and Job.
Select OK for each information dialog.
You must proceed to How to Verify and Approve Timesheets User Guide to show these records on the Invoice when created.
How to Amend the End Date
- Locate the relevant Time Planner as shown in Steps 1-2, select the relevant row, then select Functions>Apply New End Date.
Select Yes to continue or No to cancel the operation
- A message will appear, and you must enter the new end date you wish to apply to the time planner.
Enter the Date and select OK to continue.
Select OK.
- Still with the relevant row highlighted, select Functions>Create Timesheets.
Enter the new end date and select OK.
Select OK.
You must proceed to How to Verify and Approve Timesheets User Guide to show these records on the Invoice when created.
The Start and End dates have now been modified against the Time Planner.