
How to Create and Complete a Job Transfer
Job Transfers are used to move items from one Job to another.
You can create a Job Transfer from the Job Transfer dataset or from the Job Details
Note: You can only perform a Job Transfer on items which have been manifested in the system.
Locate the Job Transfer Dataset
- Select Operations, then Job Transfers:

Create and Complete a Job Transfer
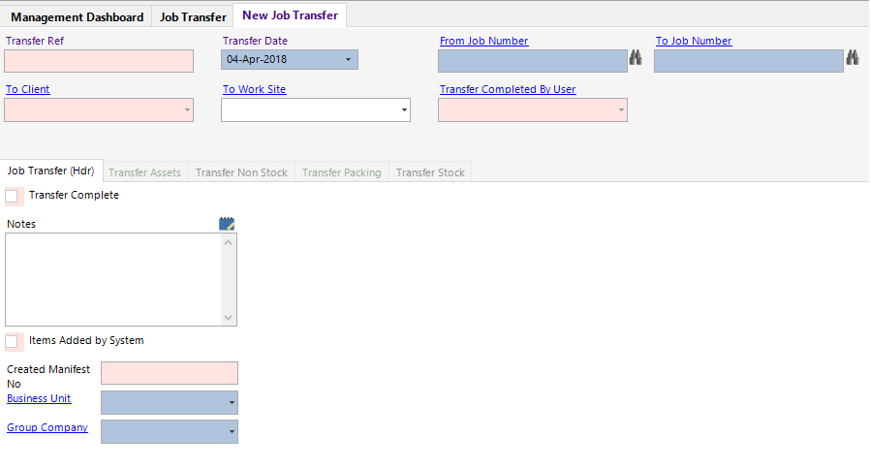
- Select New Record>Job Transfer or hit Insert to create a new Job Transfer record.
- Fill in the relevant fields.
Note: (Pink = System Generated, Blue = Mandatory):
| Field | Description |
|---|---|
| Transfer Date | This will automatically default to today’s date, user changeable |
| From Job Number | Enter the Job Number you wish to transfer items from, or use the binoculars to open the search screen |
| To Job Number | Enter the Job Number you wish to transfer items to, or use the binoculars to open the search screen |
| To Work Site | Select the relevant work site (if applicable) |
| Job Transfer (Hdr) | |
| Transfer Complete | This will update when the Complete Transfer function is run |
| Notes | Text field to record notes on the Job Transfer |
| Business Unit | Defaulted to the users Business Unit |
| Group Company | Defaulted to the users Business Unit |
- Select Functions>Get All Job Items.
Select OK.
- Select the Transfer Assets, Transfer Non Stock, Transfer Packing and/or the Transfer Stock tab to view the list of items available to transfer:

- Either manually select the Confirm Transfer box for each item listed as shown:

Or Select Functions>Confirm all Items for Transfer from the toolbar to transfer all items.
Select OK on the dialog boxes that pop up.
- Select Functions>Complete Transfer.
Select Yes to continue with the operation or No to cancel.
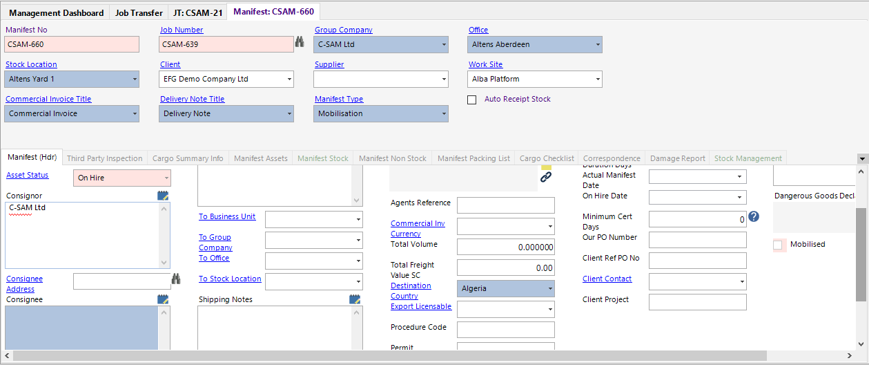
- The system will show a message and automatically open the Manifest record for you to complete (This happens because the system automatically updates each status to Pending Mobilisation).
Select OK and fill in the required fields within the Manifest header.
- Select the relevant tab to view the transferred items, notice that the system has assigned a Manifest No and shows the Transfer To Job Number in the field shown:
- Select Functions>Complete Manifest.
Select Yes to continue with the operation or No to cancel.
Click OK.
The system will now amend each Asset Status to On Hire against the new Job Number to which they were transferred to.
- To view the Job Transfer, select the Job Transfer tab:

You can double click on the grey area to the left of the Transfer Ref to view the items transferred.