How to Create a Timesheet & Timesheet Analysis from a Timeplanner
Users within a specific role have the ability to create Timesheets & Timesheet Analysis from a Timeplanner.
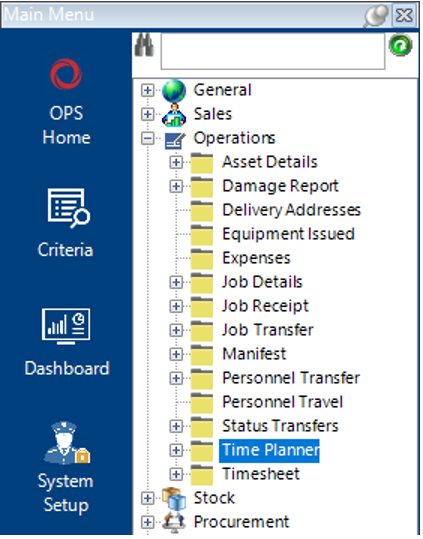
How to Locate the Time Planner Dataset
- Go to the Operations category and select Time Planner:
Create a Timesheet & Timesheet Analysis from a Time Planner
2: Enter the job number into the Job Number field and select Search from the toolbar or hit Enter on your keyboard to return the record(s):
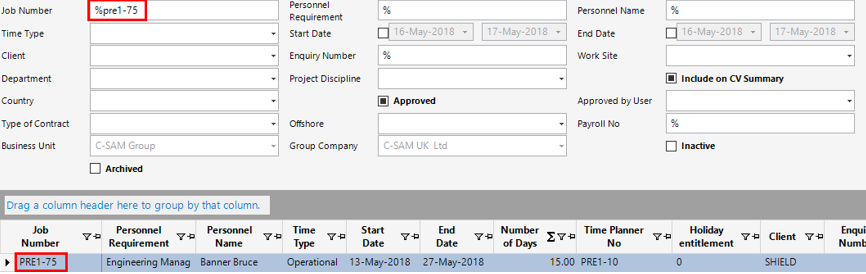
Note: The qty of records returned should match the amount of records on your Time Planner within the job details.
- If all details are correct (Start and End Dates for example), select the row(s) (multiple rows can be selected by holding down the shift key) then select Functions>Create Timesheets.
You will receive the following window:
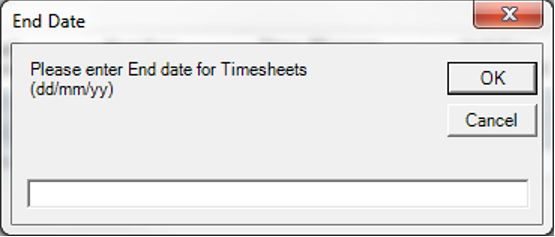
Enter the relevant End date and select OK.
Select Yes to continue, or No to cancel.
A window wil appear for each person you selected from grid view in Step 3. Click OK on each of these.
- To view the timesheets which you have created, open a record by double clicking on the grey area to the left of the Job Number column:
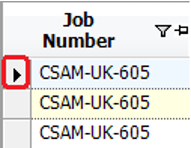
Or open all records by selecting Open All.
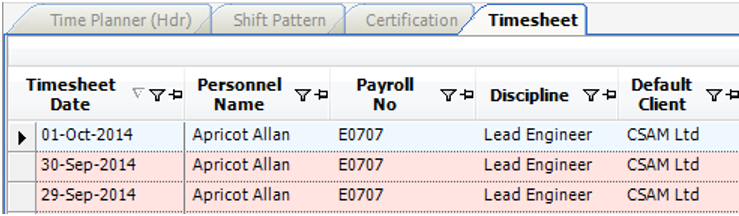
- Select the Timesheet Tab, you will see the timesheet(s) that have been added to that person:
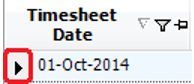
- To open a timesheet, double click on the grey area to the left of the Timesheet Date field:
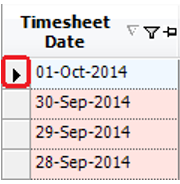
Or to open all timesheets, select Open All.
- Select the Timesheet Analysis tab:

- To open the record, double click on the grey area to the left of the Timesheet Date column or select Open All: